Your Virtual Practice comes with a Patient Portal Website, which is like your very own website for your patients, where patients can register with your Virtual Practice and access all information about your Virtual Practice, healthcare providers, book appointments, the online Healthcare services, Blogs and Care Plans that you have set up. They can also log in to securely access their own health data, attend online consultations with your Providers, and manage their appointments and payment.
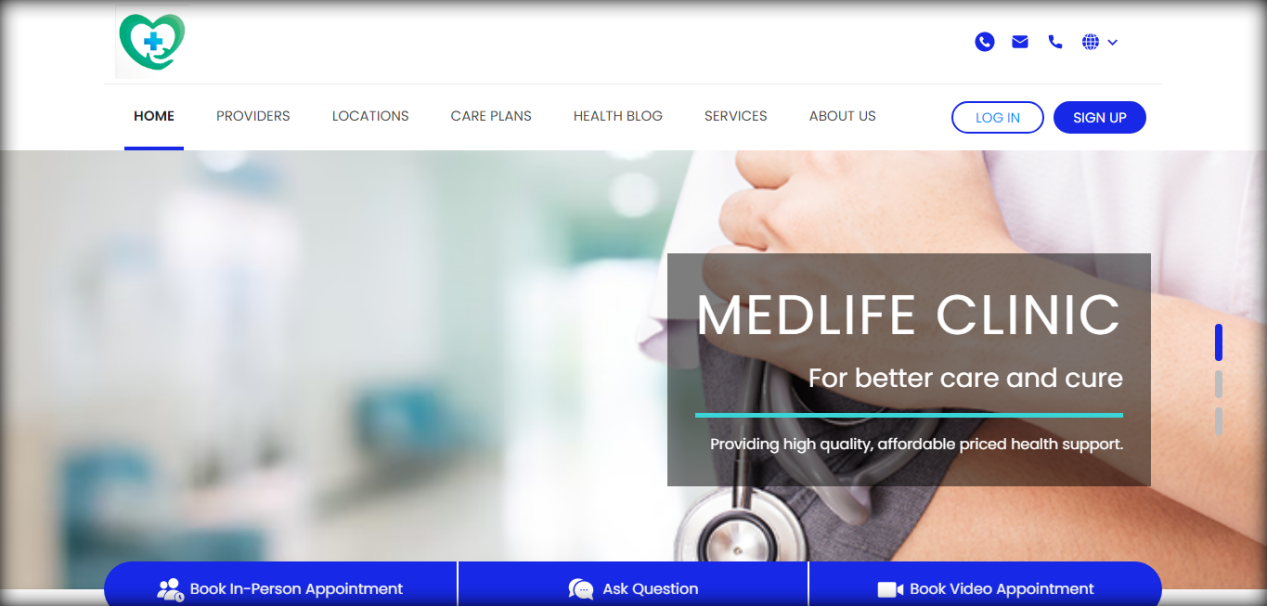
Your Patient Portal URL will be created while you sign up for the Virtual Practice. By default, it will be under the vpname.domainname domain. You can choose to map your Patient Portal to a domain of your choice. e.g. www.multicareclinic.com, Please contact us if you would like patients to access your Patient Portal from a domain name of your choice. Our support team will contact you for the same.
To set up your Patient Portal Website, go to the ‘Online Presence and Portal Settings and select Patient Portal Website Settings. You can choose to make the following settings from here:
- Website ON/OFF: You have the option to enable or disable access to the Patient Portal Website for your patients., by turning it on or off. Disabling the feature will prevent patients from viewing your website pages, but they can still Log In or Sign Up from your Patient Portal Website
- Portal ON/OFF: This setting controls the Patient Portal as a whole. If this is turned OFF, patient users will not be able to Log In or Sign Up.
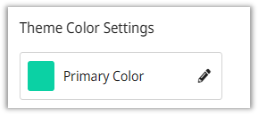
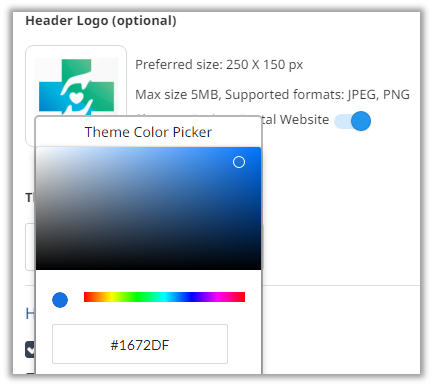
- Look & Feel: Here, you can upload your brand’s Logo and Favicon, as well as choose the primary color scheme for your Patient Portal Website.
Header Logo and Favicon: It is feasible to resize and rotate images using the image cropper. Furthermore, you have the option to delete and replace the existing Logo and Favicon with new ones.

Theme Color: Using the Color picker, you can select the theme’s color.
-
Header Settings: You have the option to choose whether to show the email address and phone number in the header of the Patient Portal Website.
-
Footer settings: You can also control the display of the support email address and phone number in the Patient Portal Website Footer.
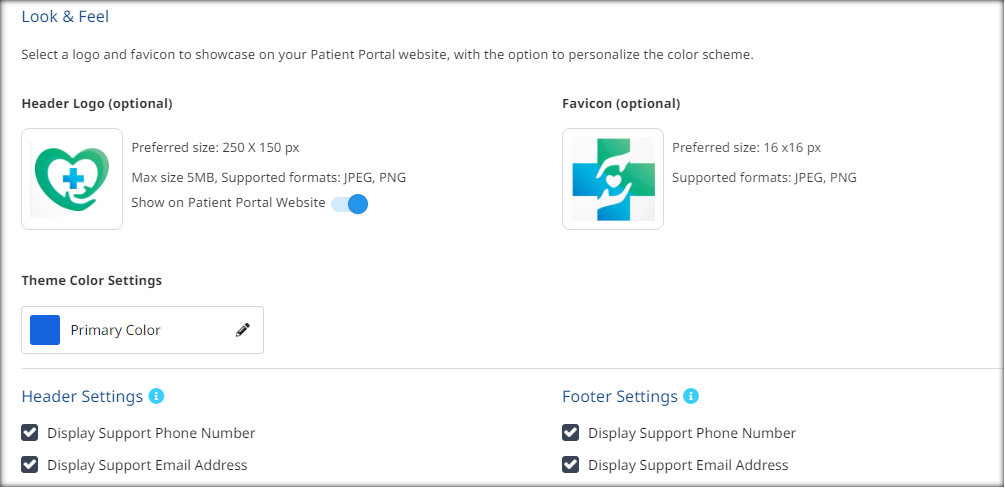
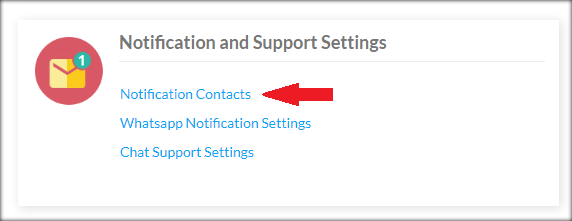
Note: Support email and Phone number added in Notification Contact Settings will get displayed in the Header and Footer of the Patient Portal Website if the display option for this is enabled.
-
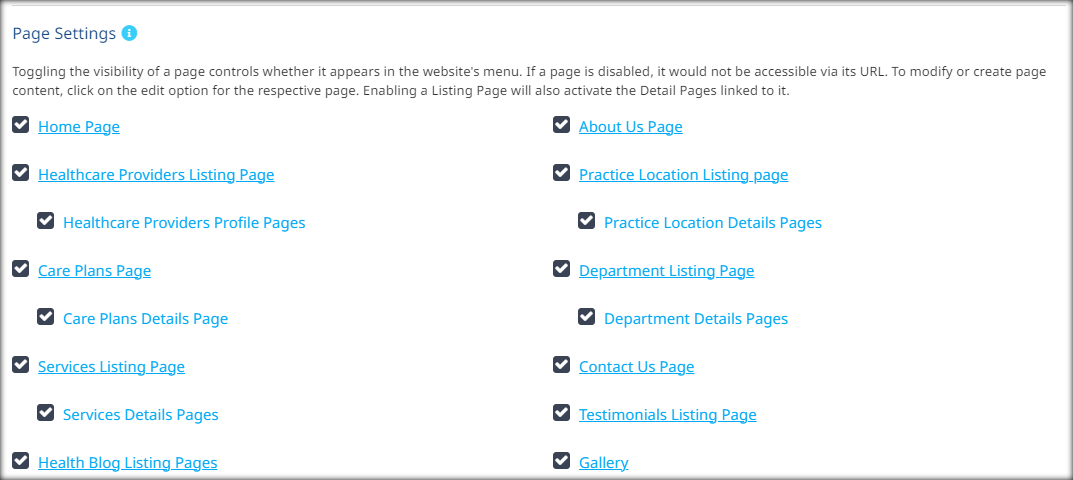
Page settings: These settings controls the visibility of each page on the Patient Portal Website. Enabling these pages will activate the associated detail page for each setting. If disabled, this page would not be accessible via its URL. All pages will be ON by default, and only after the addition of relevant content the pages will be displayed on the Patient Portal Website.
Follow the Help Below to Set Up the Following Pages:
Note: Turning off the Healthcare Provider Listing Page will disable users from booking appointments or viewing the appointment option.
To enable Contact Us Page in the website kindly contact the support team support@continuouscare.io.
Gallery Testimonials & Social Media Settings: This will manage your gallery, testimonials, and social media pages on the Patient Portal Website.
-
Photo & Video Gallery: You can manage the Gallery on your Patient Portal Website by creating Albums with a display heading and description and by uploading photos and videos. Images uploaded can be viewed on the Gallery and About Us pages on the Patient Portal Website.
-
Social Media Link: This allows you to add social media URLs such as Facebook, LinkedIn, Instagram, etc to the Patient Portal Website.
-
Manage Testimonials: This setting allows you to manage the testimonials added by the patient users. You could also add patient testimonials on their behalf using the Manage Testimonials.

Note: Remember to click the ‘SAVE’ button to apply any changes.
Patient Terms Customization
The patient interfaces, i.e., the Web Patient Portal and the Patient Mobile app, associated with your Virtual Practice come with a patient Terms and Conditions page, by default. All new patient registrants will mandatorily have to view and accept these terms by clicking a checkbox, before logging into their user account on any patient interface, for the first time. Additionally, an eSignature option can also be enabled to capture the patient’s handwritten signature, as consent to the terms.
While customizing the default patient terms, it is important to ensure that key clauses related to the responsible use of the application are retained. To edit the patient terms for your Virtual Practice, please contact support@continuouscare.io.